How One Device Inspects Both Parts and Powder in Metal AM
A scanning electron microscope analyzes the shape and composition of grains of powder as well as inclusions and voids in the part’s surface.
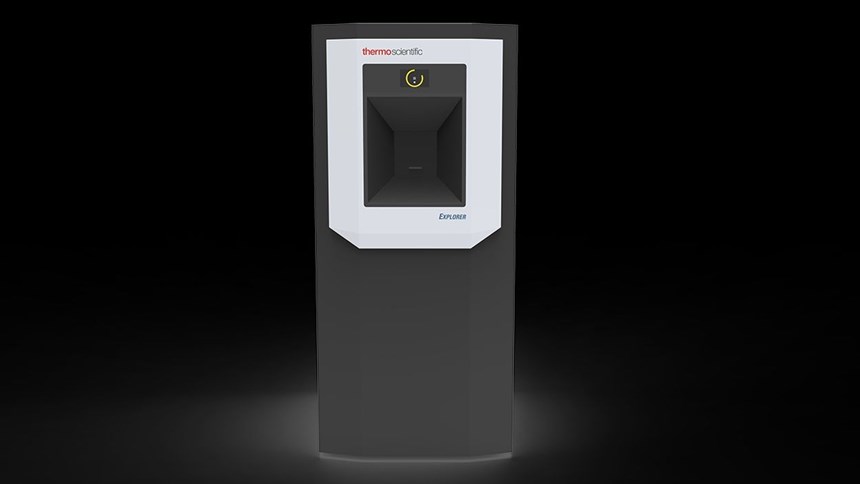
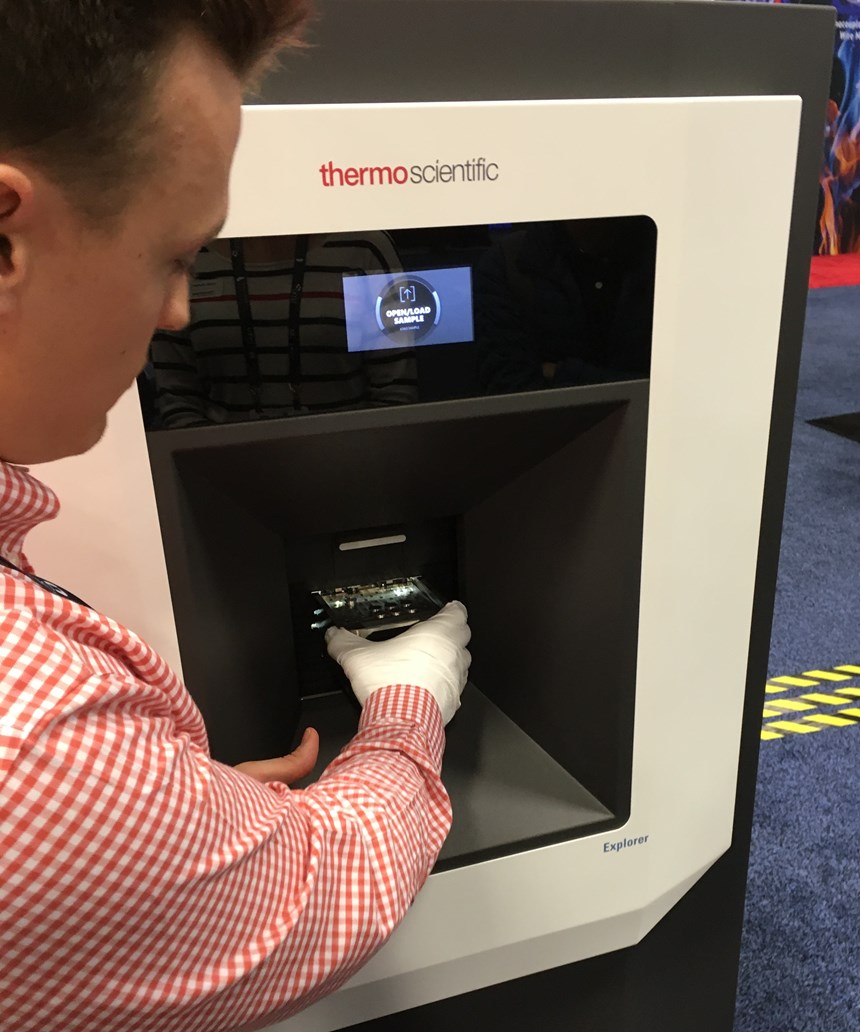
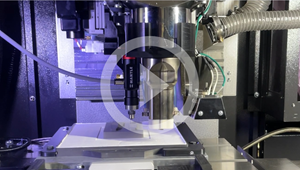
The same device that is used to inspect the metal powder prior to an additive manufacturing (AM) build might also be used to validate the parts resulting from that same build. At the most recent Rapid + TCT, Thermo Fisher Scientific demonstrated how its new compact scanning electron microscopy (SEM) unit, Explorer 4 Additive, can do both jobs. Key to this multitasking is the fact that the voids and inclusions that might invalidate an AM build are just as identifiable to SEM as grains of powder, and even have roughly the same morphology. “Basically, we are looking for either light shapes or dark shapes, and we derive meaningful data from both,” says Kristin Mulherin, company senior business development manager.
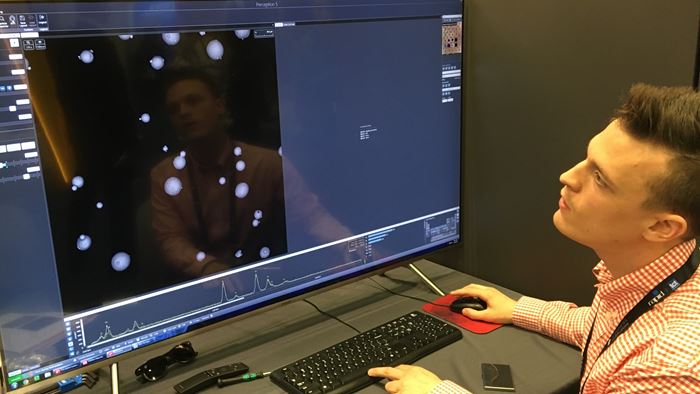
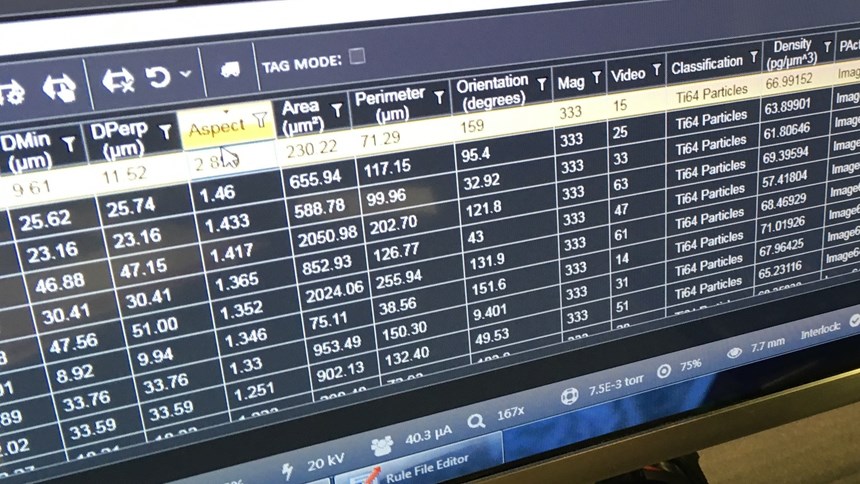
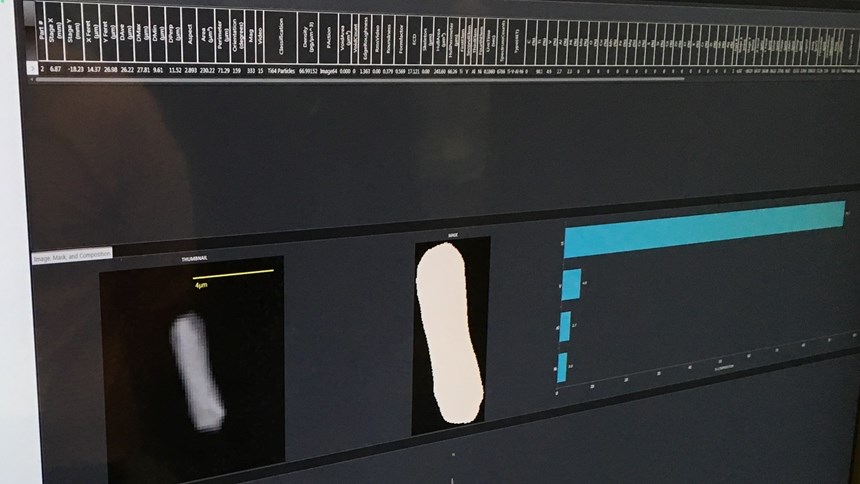
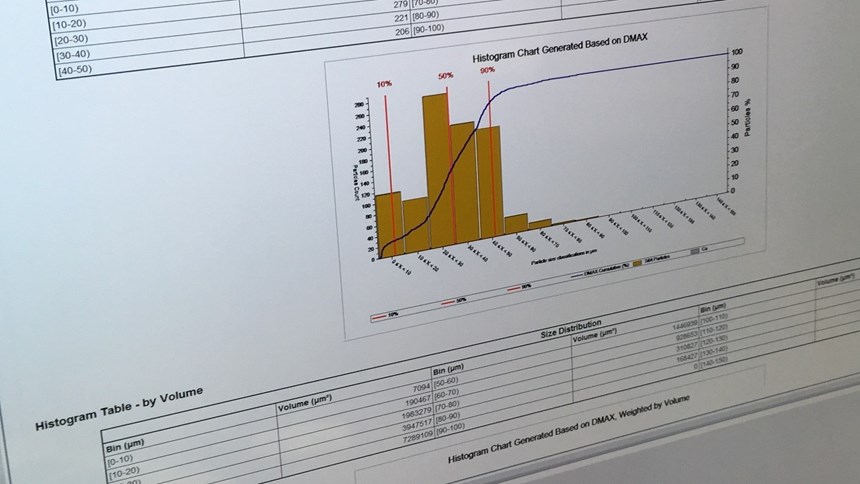
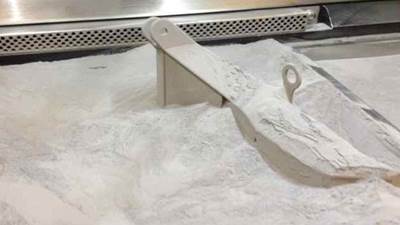
Scanning a sample batch of powder is the “light shapes” exercise. While energy-dispersive X-ray spectroscopy is applied to validate the chemical composition of each grain to determine there is no contaminating material in the mix, optical detection of each grain (the light shapes against a dark background) maps and measures grain forms to record the dimensions of perhaps 1,000 grains of powder in an inspection cycle taking 15 minutes. The consistency or extent of variation in the size and sphericity of powder can then be used to automatically assure that one batch of powder is sufficiently similar to a batch that preceded it.
This evaluation is perhaps most germane where recycled powder is used, Mulherin says. Today, strategies for reusing powder from build to build typically involve switching to virgin material after an arbitrary number of cycles to ensure sufficient powder consistency. The SEM analysis can eliminate the need for this arbitrary cutoff, and thus eliminate the potential waste that comes from disposing of recycled powder too soon. Instead, the manufacturer can just keep on using the powder until inspection reveals that its composition or morphology has meaningfully changed.
The same analysis applied to finished parts scans for microscopic shapes that are either light or dark against the 3D-printed sample. Inclusions could be lighter or darker than the surrounding material; voids are darker. “If a dark form within the part measures no X-ray response, then we know it’s a void,” she says.
This measurement requires a flat, smooth surface. The part itself is therefore not inspected this way, but instead a test coupon is grown with the part, which is polished for the SEM measurement. The coupon can then be saved for traceability. Analyzing the material quality of an AM build is one application, but once the build has been analyzed and its acceptable variation has been established, the SEM unit offers potentially an even more valuable role. That is, control limits for the part number can be established in the form of acceptable values for the sizes of material defects. With these limits defined, the operator with no metallurgical expertise can scan a test coupon to confirm it falls within required specs. Indeed, control limits could be established to define acceptable powder as well, Mulherin says. In this way, for both the raw material going into to the additive process and the part coming out of it, the compact SEM analyzer can be applied in production as a simple but effective pass/fail gage.
Related Content
Beehive Industries Is Going Big on Small-Scale Engines Made Through Additive Manufacturing
Backed by decades of experience in both aviation and additive, the company is now laser-focused on a single goal: developing, proving and scaling production of engines providing 5,000 lbs of thrust or less.
Read MoreAdditive Manufacturing Is Subtractive, Too: How CNC Machining Integrates With AM (Includes Video)
For Keselowski Advanced Manufacturing, succeeding with laser powder bed fusion as a production process means developing a machine shop that is responsive to, and moves at the pacing of, metal 3D printing.
Read MorePostprocessing Steps and Costs for Metal 3D Printing
When your metal part is done 3D printing, you just pull it out of the machine and start using it, right? Not exactly.
Read More3D Printing Molds With Metal Paste: The Mantle Process Explained (Video)
Metal paste is the starting point for a process using 3D printing, CNC shaping and sintering to deliver precise H13 or P20 steel tooling for plastics injection molding. Peter Zelinski talks through the steps of the process in this video filmed with Mantle equipment.
Read MoreRead Next
Postprocessing Steps and Costs for Metal 3D Printing
When your metal part is done 3D printing, you just pull it out of the machine and start using it, right? Not exactly.
Read MoreProfilometry-Based Indentation Plastometry (PIP) as an Alternative to Standard Tensile Testing
UK-based Plastometrex offers a benchtop testing device utilizing PIP to quickly and easily analyze the yield strength, tensile strength and uniform elongation of samples and even printed parts. The solution is particularly useful for additive manufacturing.
Read MoreCrushable Lattices: The Lightweight Structures That Will Protect an Interplanetary Payload
NASA uses laser powder bed fusion plus chemical etching to create the lattice forms engineered to keep Mars rocks safe during a crash landing on Earth.
Read More

