Measurement and Testing Protocols for 3D Printing
3D printing combined with CNC machining is a powerful mix that enables the creation of parts unobtainable from using one method alone. However, taking full advantage of both requires special attention to testing and measurement.
Establishing careful measurement protocols is always important for any manufacturing job, but it is even more critical when 3D printing parts. Having insight into the limitations of additive manufacturing and the tests that a printed part will undergo may help during the design phase to avoid costly and time-consuming design or engineering revisions late in the production cycle.
Below are five common testing and measurement practices for 3D printing:
1. Raw material identification. There is sophisticated metrology equipment for the testing of bar and plate stock for subtractive manufacturing; however, those same tests don’t work to verify powder for 3D printing. 3D printing starts with refined metal powder that is only available from a relatively small number of suppliers. In some cases, the powder can be supplied directly from the manufacturer of the 3D printer. Since the powder is optimized by the manufacturer for the manufacturer’s printer, it can be used with confidence. However, it is important to make sure the machine is thoroughly cleaned between runs of dissimilar powder types.
2. Pre-printing design and measurement. Before printing, it’s important for the 3D CAD file to be carefully reviewed to ensure that the design is optimized to be compatible with the tolerances of the machine that will be printing it. For example, a printer may require a minimal wall thickness of 0.2 mm, while holes/gaps can be no smaller than 0.4 mm. These parameters are functions of powder size, beam profile and table movement, among other variables. After a part is 3D printed, it will be possible to post-machine it to achieve much closer tolerances, but only on external features. Internal cavities outside the line-of-sight of a straight drill bit or mill cannot be machined. These internal features will remain as-is, which emphasizes the importance of designing a part carefully with the machine’s specifications in mind.
Designs with acute angles or overhangs may also need added supports to make these features when 3D printing. These can be machined off after the part is printed, if the supports are added in places where machine tools, grinders or sanders can reach. Anything too small or inside a convoluted geometry may not be machinable. Careful design consideration at this early stage will save much more time, money and aggravation in the long run.
3. Post-printing measurement. Once a part comes out of the printer, the dimensions should be measured and compared to the original CAD file, but here there are a few caveats. First, the surface finish that’s created through 3D printing is rough, so close tolerances should be ignored at this stage. Second, the part was deliberately oversized in the design. The extra material is needed so it can later be machined away to reach the part’s final dimensions. At this stage, what is important is the correct relative location of all features.
One way to test the relative location of features is to create a 3D map of the printed part using a 3D scanner. This is particularly effective for capturing complex shapes with many points. The resulting 3D map can then be compared to the original CAD drawing to get an immediate visual reference for any potential errors. However, 3D scanners only work for the exterior of the surface, not any hidden internal cavities that 3D printing enables. These cannot be conventionally measured and so their size and location must be inferred from the initial printing file.
This later consideration is crucial when machining features like thin-walled sections of conformal cooling channels. Take off too much metal and the part is ruined, or even worse, can fail in use. In critical applications, it is possible for special labs to perform high-resolution CT scanning to determine the dimensions of interior spaces.
4. Design and measurement for post-machining. After printing and measuring, the part is moved to the CNC machining center. When preparing a 3D-printed part for CNC machining, the measurements obtained through 3D scanning will help determine the best way to hold the piece securely and where to establish reference points for cutting and milling. Therefore, it’s best if the initial printing design was optimized from the beginning to match with the machine on which secondary processes will later be performed.
However, there may still be a certain degree of risk when machining. Why? Because the precise location of hidden internal cavities is not known (as discussed above). The machinist must take great care when cutting the final dimensions on thin-walled sections, which is a problem unique to 3D printing that doesn’t exist when machining from a blank.
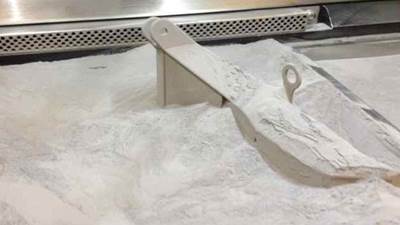
5. Final measurement and testing. After machining, there will be a solid finished part and not a bed of powder. So, as with other metal parts, all required mechanical tests can be conducted, such as hardness, tensile strength and surface roughness. Laser-melted 3D metal parts are 99 percent as dense as forged parts, but they will be slightly stronger in the Z axis than the X and Y axes because of the way the powder is laid down.
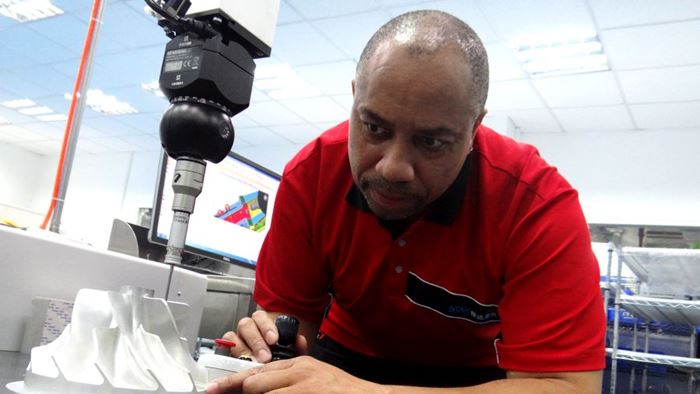
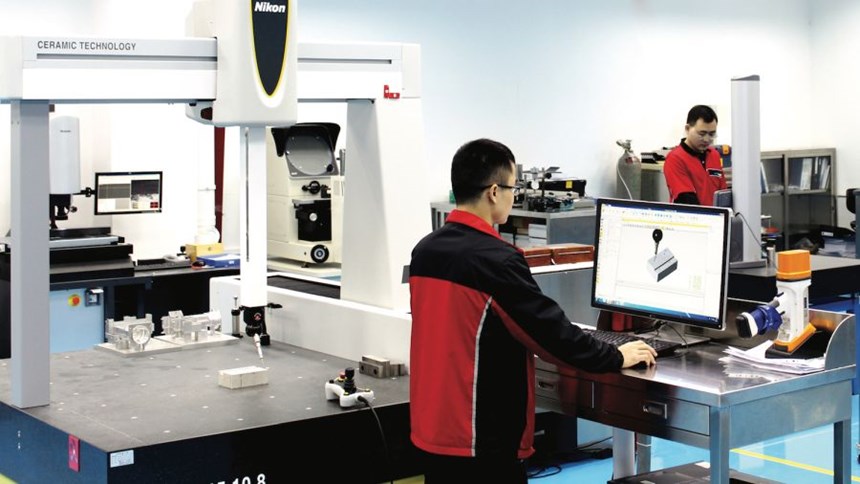
It’s now possible to perform a complete dimensional measurement of the finished part using a coordinate measuring machine (CMM). The CMM has a massively stable granite table with a very flat surface. A precisely made sapphire crystal mounted on a touch probe assures measurement accuracy. This machine is housed in a climate-controlled room to further reduce temperature-induced measurement variations.
One of the great advantages of the CMM is that it can be programmed to a set of coordinates based on the original CAD drawing. Once programmed, it can then automatically measure multiple parts in succession at the touch of a button and compare those results to original specifications.
Metal 3D printing and CNC machining both have inherent strengths and weaknesses. Getting these two technologies to complement one another requires careful measurement and testing at several stages of production. This strategy is the best way to create next-generation parts and tooling for the most advanced applications.
About the Author
Gordon Styles is the founder and president of Star Rapid (previously known as Star Prototype), a provider of prototyping, rapid tooling and low-volume manufacturing services.
Related Content
How Machining Makes AM Successful for Innovative 3D Manufacturing
Connections between metal 3D printing and CNC machining serve the Indiana manufacturer in many ways. One connection is customer conversations that resemble a machining job shop. Here is a look at a small company that has advanced quickly to become a thriving additive manufacturing part producer.
Read MoreZeda AM Production Plant in Ohio Now Open — Thoughts on the New Facility
73,000-square-foot metal powder bed fusion plant includes extensive machining capability plus separate operational models for serving medical versus other businesses.
Read MoreMachine Tool Drawbar Made With Additive Manufacturing Saves DMG MORI 90% Lead Time and 67% CO2 Emission
A new production process for the multimetal drawbar replaces an outsourced plating step with directed energy deposition, performing this DED along with roughing, finishing and grinding on a single machine.
Read MoreNew Zeda Additive Manufacturing Factory in Ohio Will Serve Medical, Military and Aerospace Production
Site providing laser powder bed fusion as well as machining and other postprocessing will open in late 2023, and will employ over 100. Chief technology officer Greg Morris sees economic and personnel advantages of serving different markets from a single AM facility.
Read MoreRead Next
Profilometry-Based Indentation Plastometry (PIP) as an Alternative to Standard Tensile Testing
UK-based Plastometrex offers a benchtop testing device utilizing PIP to quickly and easily analyze the yield strength, tensile strength and uniform elongation of samples and even printed parts. The solution is particularly useful for additive manufacturing.
Read MorePostprocessing Steps and Costs for Metal 3D Printing
When your metal part is done 3D printing, you just pull it out of the machine and start using it, right? Not exactly.
Read MoreCrushable Lattices: The Lightweight Structures That Will Protect an Interplanetary Payload
NASA uses laser powder bed fusion plus chemical etching to create the lattice forms engineered to keep Mars rocks safe during a crash landing on Earth.
Read More
